Photomatix is an effective tool when you want to create an HDR effect on a single photo.
Normally, we create HDR images from a blend of three or more different exposures of the same scene. The settings chosen for the three exposures effectively tell the camera to concentrate just on the shadows or just on the highlights during each shot.
Because the camera can’t capture all the detail in the highlight and shadows in a single shot, the HDR results you’ll get when processing one image with Photomatix won’t give you as good a result as when you’re mixing information from bracketed shots.
You can, however, still tease plenty of detail from one photo to produce a good-looking HDR style photograph. You can load the single photo directly into Photomatix, or if you have a RAW file you can create 'fake' brackets to get even better results.
If you have a RAW file, using virtual copies to make fake brackets from one image is easy with software like Adobe Lightroom. Here’s how:
In Lightroom’s library module, right-click on the image you wish to copy and the dialogue shown below appears.
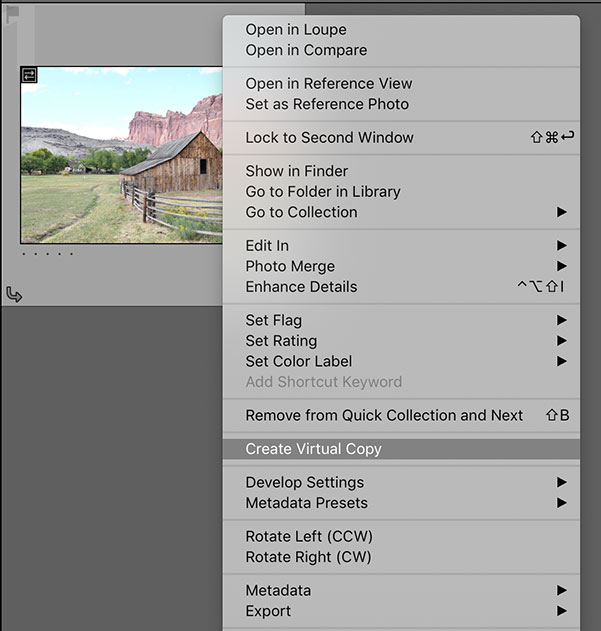
Click ‘create virtual copy’, and a duplicate will appear alongside the original. Do this twice so you have two copies of the photo labelled ‘copy 1’ and ‘copy 2’.
Adjust the exposure on each of the copies:
You now have three images, one as shot and two more exposed for shadows and highlights respectively. You don’t need to do more pre-processing at this stage. Once you have created the fake bracketed exposures, export them to Photomatix Pro using the plug-in.
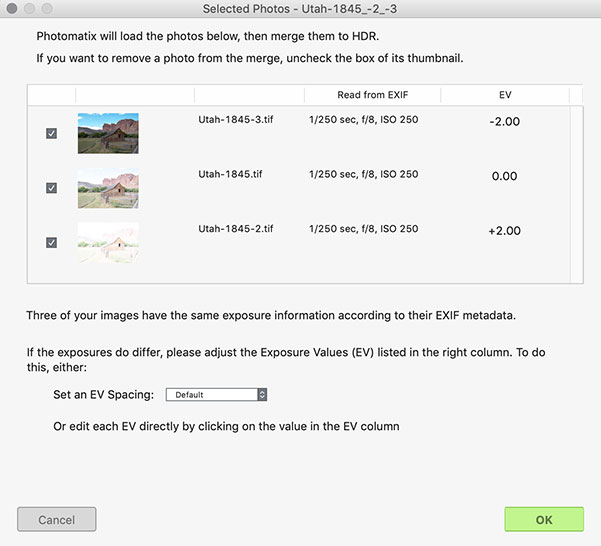
Because you’re working with one duplicated image, the EXIF data is the same for each one. Check how your photos appear in the dialogue box, and change the EV values in the right hand column to match the exposures you set in Lightroom: Plus and minus two stops, for instance, as shown here. Unchecking any of the boxes tells Photomatix not to include those photos in the merge.
You can also import a single file directly into Photomatix without creating virtual copies. Results are still good despite having fewer processing choices.
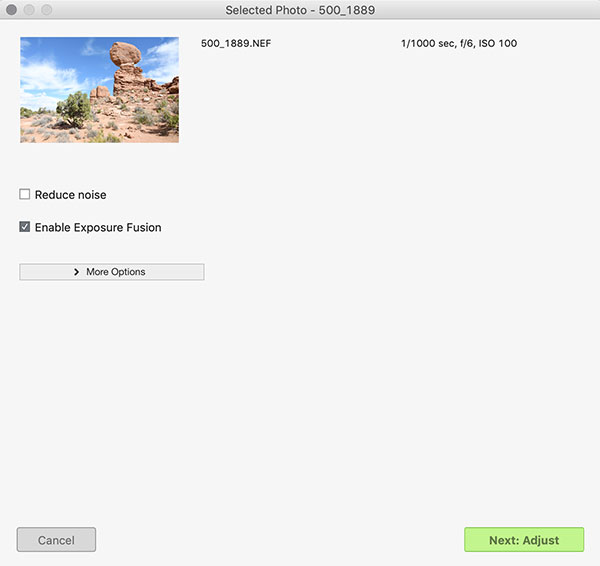
Notice the different options Photomatix gives when importing a single file compared with importing fake bracketed shots:
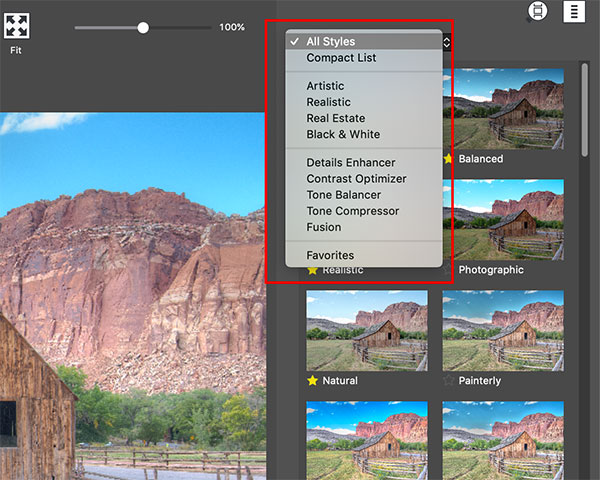
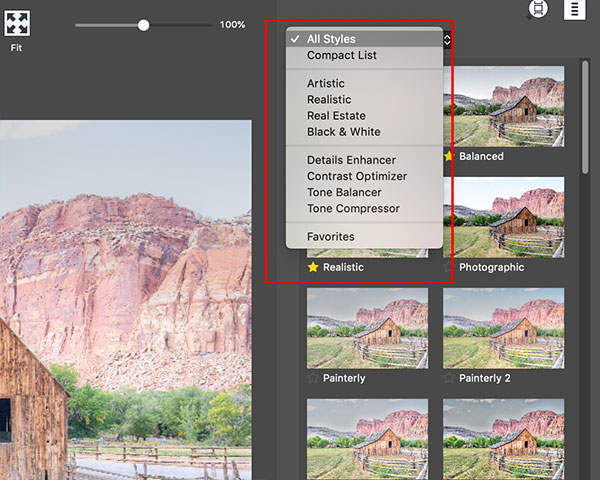
You will see that there is no ‘Fusion’ option on the right side showing presets when you are working with a single file. Exposure Fusion is a technique that blends or ‘fuses ‘more than one image, taking highlight details from one and shadow details from another. When processing a single image, this is not possible.
If you have a single RAW file, there is a way to enable the Fusion options for it, without manually creating fake exposures. With this option, Photomatix Pro will automatically create them, and will then enable the Exposure Fusion options as above.
To use this feature, load your RAW file into Photomatix Pro, and check the option “Enable Exposure Fusion” on the window that appears. Then click “Next: Adjust” to choose your settings. The Exposure Fusion options will now be available.
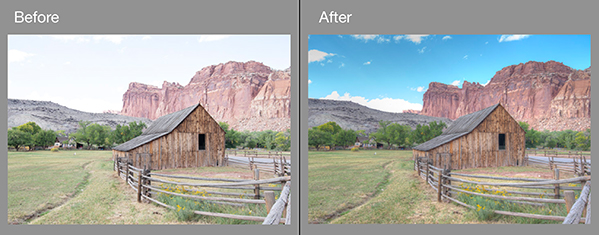
Here is an example using the first method, using virtual copies to create fake exposures. This shows the original single photo alongside the refinements made in Photomatix. Creating two virtual copies with adjusted exposures gave Photomatix plenty to work with.
After applying your settings, you can use the Finishing Touch tools in Photomatix Pro to add some last adjustments. Or, you can import the processed photo into Lightroom where you can continue processing your image if you prefer. This can be done automatically if you check the option for it when using the Export plug-in.