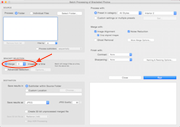
To merge and render multiple sets of bracketed photos, you can automate the process by following the steps below.

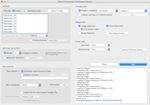
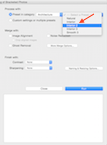
Note: You can still use the batch when your bracketed sets are composed of varying number of exposures. In this case, select the Advanced selection radio-button, click 'Options...' and select Automatically detect number of bracketed frames.

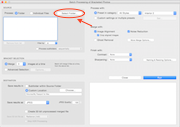
The Interior 2 preset is particularly well suited to interiors with a bright window. If you are batching real estate exterior shots, try the Natural preset instead.
Note: You can save a preset when you adjust the HDR rendering manually. The preset you save will then be listed on the batch's preset pop-up menu.

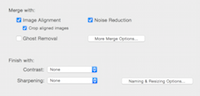
Make sure to leave the 'Ghost Removal' box unchecked, as ghost removal is intended for scenes with moving objects or people.
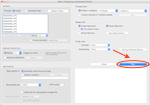
The batch offers several options and advanced settings to automate your workflow. For a detailed description, refer to section 4 of Photomatix Pro's user manual (which you can access via the 'Help' menu).