The heart of Photomatix for Linux is where you adjust the image with various HDR Rendering methods. The image adjustment interface has three main sections: Adjustments Panel on the left, Preview in the middle, Presets Panel on the right.
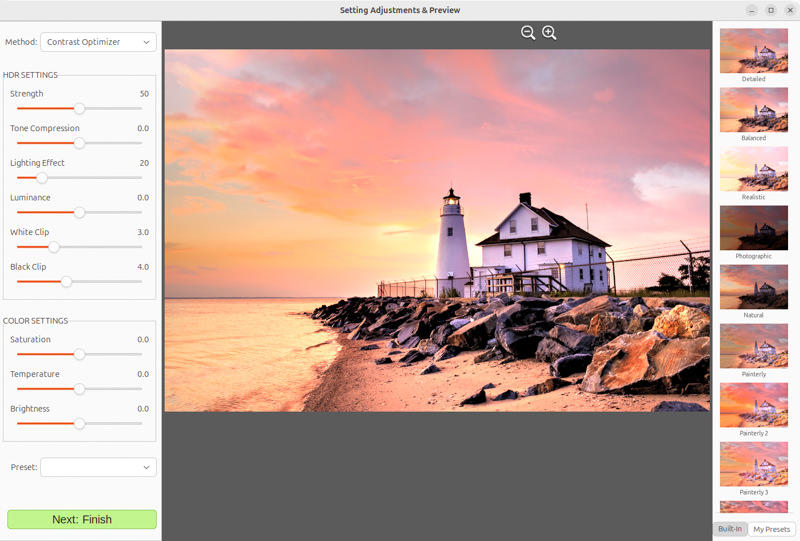
Adjust and Preview window with presets
The Preview displays the image rendered with your current Preset and settings, and is updated immediately after a Preset or setting has been changed.

Magnify-icons
At the top of the preview panel are the Magnify Icons +/-. These increase / decrease image preview size by 20%, and re-render it at the new size.
Image Adjustment Workflow
After you have merged your source images (or opened a single image file), the main workflow steps are:
- Choose a Style for Your Image
Choose a style by selecting a thumbnail in the Presets Panel, either a built-in preset delivered with Photomatix for Linux, or a custom preset that you previously created.
See the presets section for details on working with presets.
- Refine the Effect
You can refine the effect of the Preset using the controls in the HDR Settings and Color Settings sections (see the HDR Settings and Color Settings appendix for descriptions of each setting).
- Apply the Adjustments
When you are satisfied with the preview result, click on the Next: Finish button at the bottom of the Adjustments panel. This will apply the selected preset and settings adjustments to the image, at its original resolution.
- Add Finishing Touches
Before saving the image, you can use the options on the Finishing Touch palette in order to increase the contrast of your image, sharpen it, crop it or straighten it.
- Save the Image
Click the Done button on the Finishing Touch window to bring up the save dialog.
Navigate to the folder where you want to save the image, and use the default file name or enter a new name in the Name field. Then, select a file type among the three offered.
JPEG is best if you want to go straight to the Web with no further processing.
TIFF 16-bit offers the highest quality output and is the best format if you plan on processing the image further in an image editor.
Working with Presets
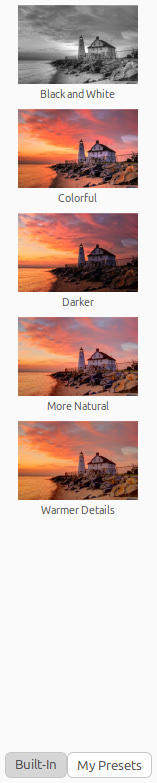
User Created Presets
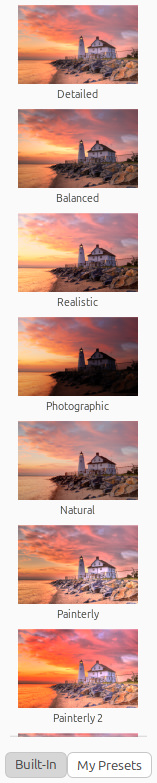
Built-in Presets
The Preset Thumbnails panel lists the available presets, showing a thumbnail preview of the effect of that preset. When you click on a preset thumbnail, the Preview image is refreshed to show the result of rendering with the settings of that preset.
There are two types of presets, "Built-in" factory presets, and "My Presets".
Built-in or "factory" presets are those provided with the software. Photomatix for Linux offers 37 built-in presets when you are working with bracketed photo sets, and 33 built-in presets for when you are working with single photo files.
"My Presets" or Custom presets are presets that you saved while adjusting your images - often these are ones that you have carefully refined to match your tastes and your images.
To access custom presets, click on the My Presets tab located at the bottom of the Preset Thumbnails panel.
To create your own custom presets as XMP files for future use, follow these steps:
- In the Adjustments panel, at the left side of the Preview window, click the Presets drop-down list.
- Select Save Preset from the list.
- Enter a name for the preset in the Name field, and click Save.
If you save the preset in the default location (which is the custom_presets subfolder of the .photomatix folder in your home directory), the preset is automatically added to the Presets combo-box list, and also shows in the My Presets tab of the thumbnail Presets Panel.
Finishing Touch
After "Next: Finish", the Finishing Touch window appears, allowing you to apply a few optional finishing touches before saving.
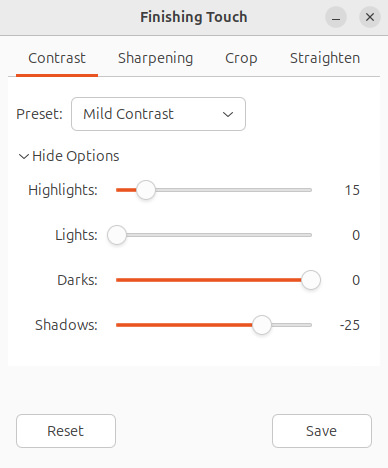
Adjusting the Contrast in the Finishing Touch dialog
The Contrast and Sharpen tabs of the Finishing Touch window provide "Mild", "Medium" and "Strong" presets (and "Extreme" as well, for Contrast). The "Show Options" button gives access to options for more precise custom settings.
The Crop tool allows you to click and drag on your image, to set a custom crop. The Aspect Ratio menu allows you to constrain your crop to standard aspect ratios, such as square, 3:4, 9:16, etc.
When you've made any finishing touches you want, press Save to save the final image.