Photomatix for Linux can load JPEG, TIFF and Raw files from many camera models.
When you load a set of bracketed photos, Photomatix merges them into an HDR image, and offers options to automatically align the bracketed photos and remove ghosts.
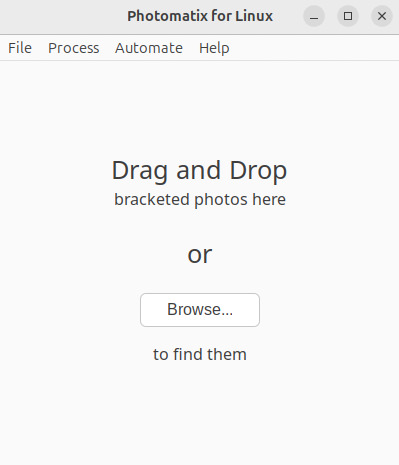
Start Dialog
Loading Photos
To load bracketed image files, do one of the following:
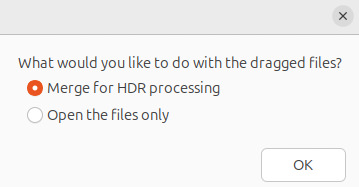
- Drag and drop the files onto the Photomatix of Linux app main window, and choose the Merge for HDR processing option in the dialog that comes up.
- Click on the Browse... button of the main window, to open the Loading Bracketed Photos dialog, then click on its Browse... button. The system's open file-open dialog then appears, and you can select the photos you want to merge.
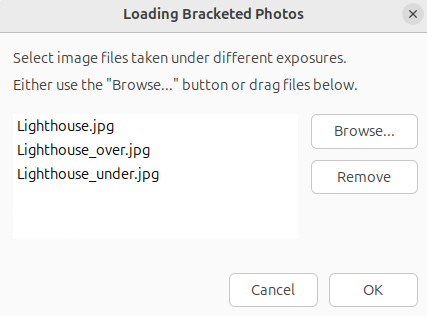
Load photos dialog
In either case, you should now have the Loading Bracketed Photos dialog open, listing the files to merge. To remove any photo from the list, click on the name, and click the Remove button.
Click OK when you have the photos you want in the list.
Load bracketed photos dialog
Merge to HDR Options
The Merge to HDR Options dialog offers options to correct for misalignment and ghosting introduced by the bracketed capture. It also offers options for noise reduction and Raw conversion (when Raw files are loaded) which are also offered when you load a single photo.
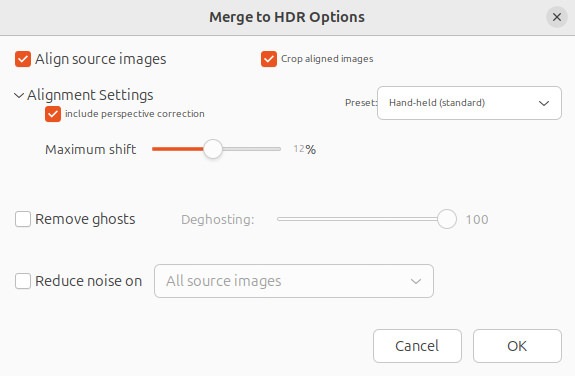
Merge to HDR dialog box when loading JPG or TIF files
Alignment Options
The Align source images option is checked by default. It corrects misalignment problems when the camera moves slightly between the bracketed frames. Handheld bracketed sets have camera movement between frames, but even bracketed sets shot on a tripod can have some slight camera movement between frames as well, as can be caused by wind, for example.
The Crop aligned images option removes unneeded borders resulting from alignment adjustments. Without this, the merged image will have white areas around the edges. You should disable this option when you need the resulting image to have exactly the same width and height as the source images.
If you took the photos hand-held, the default option hand-held is suitable in most cases. The taken on a tripod option is appropriate when the camera barely moved between the bracketed shots, and has the advantage of being faster.
The alignment preset drop-down menu lets you select pre-defined alignment settings that are appropriate for particular shooting situations. The four presets offered are On Tripod, Hand-held (minimal movement), Hand-held (standard) and Hand-held (large shifts).
The Include perspective correction option corrects for all types of camera movement, including rotation in all three dimensions, as well as horizontal, vertical, forward, and backward motion.
Deghosting Options
The Remove Ghosts option turns on image-wide automatic deghosting, and is recommended only when the scene photographed had moving objects in it.
Deghosting addresses the problem of artifacts that appear when combining the bracketed images of a dynamic scene. For example, if the moving subjects are people walking, the people will appear multiple times in the combined image, once for each frame, faded and in a different position as if they were “ghosts”. This is why artifacts that arise from movement in a scene are commonly referred to as “ghosting” and the techniques to eliminate them are referred to as “deghosting”.
The Deghosting slider adjusts how "aggressively" Photomatix should try to remove ghosts. An aggressive Deghosting setting removes more ghosting artifacts, but increases the possibility and severity of unwanted artifacts. Use a setting as low as possible, to maximize the quality of the merged HDR image.
Noise Reduction Options
The Reduce noise on option processes source photos with a high-quality noise reduction algorithm, and is recommended when processing Raw files directly in Photomatix.
Noise reduction is typically most helpful in dark areas of the source images, and these dark areas are more prevalent in the underexposed and, sometimes, in the normally exposed frames. With this in mind, you can use the Reduce noise on menu to specify that noise reduction be applied only to the darkest images in the bracketed set, to the normal and the darker images, or to all the images in the set.
Options for Raw Files
Photomatix for Linux offers additional pre-processing options for Raw files. These options are automatically available when Raw files are loaded.
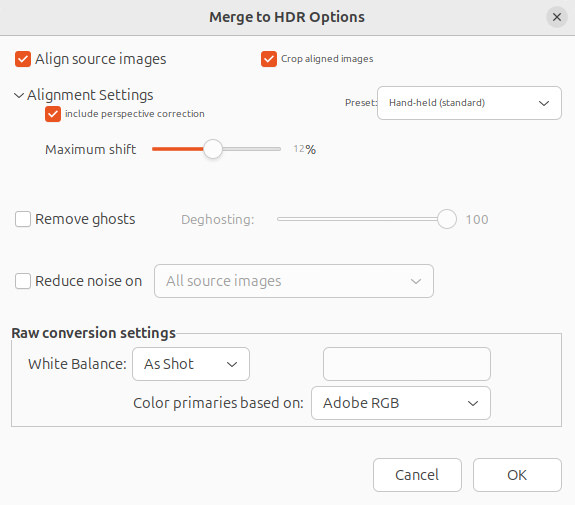
Merge to HDR dialog box when loading RAW files
The White Balance option lets you change the white balance if desired. The default value is "As Shot", which reads the white balance setting from the EXIF metadata. To adjust the white balance, select a pre-defined value from the White Balance drop-down list.
The Color Primaries drop-down list provides options for converting the Raw data from the camera's native color space to the display profile of the selected value. Adobe RGB is the default value, and is appropriate when you want to print the resulting image. If you would like to display the resulting image only on the web and do not intend to print it, then select sRGB to avoid having to convert the image from Adobe RGB to sRGB.